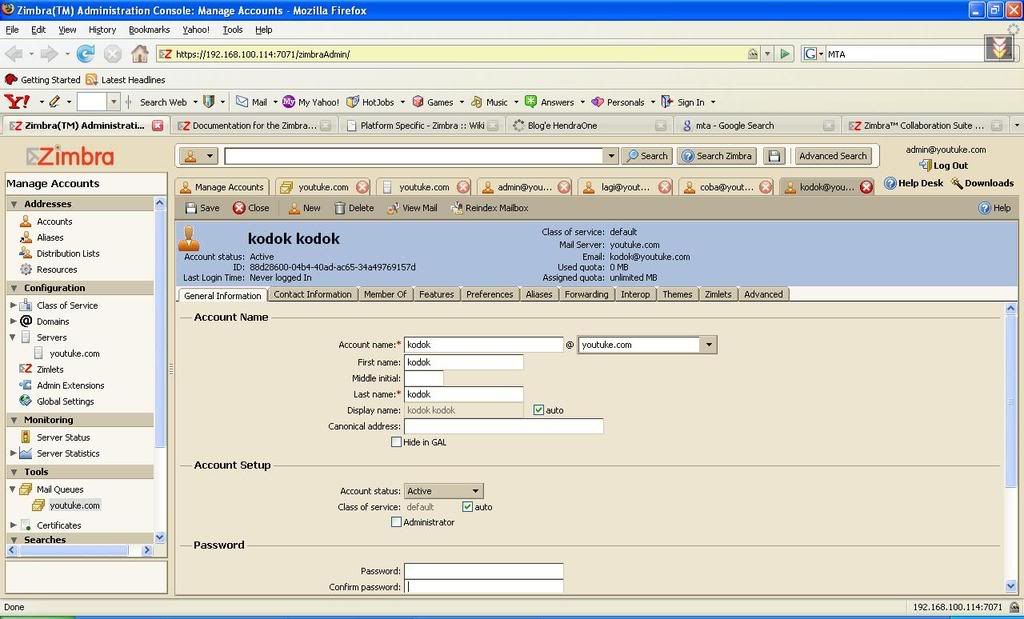
Wahhh beneran hampir-hampir saya tidak percaya ada aplikasi se-lengkap ini yang ditawarkan gratis, walau tetep ada versi bayarnya. Zimbra adalah package aplikasi untuk MTA (Mail Transfer Agent) yang dibangun oleh yahoo.
Yaa udah kalau mau tau banyak mengenai Zimbra silahkan cek saja di http://www.zimbra.com atau ke wikipedia. Mari langsung praktek installasinya, ikutin saja alur yang saya beri.
1. Install Fedora 7 tanpa menambah aplikasi apapun, so install base system dan GNome saja, atau klik next-next-next waktu installasi. Ohhh ya ada hal yang harus diperhatikan pada saat partisi HDD, ketentuan adalah :
- 100MB untuk /boot
- 2 kali ukuran RAM untuk swap
- Selebihnya langsung saja set sebagai root (/)
2. Setelah installasi selesai update package Fedora 7
#yum update
3. Lakukan perubahan agar perintah sudo tidak harus membutuhkan tty untuk dijalankan
#su
#/usr/sbin/visudo
lakukan perubahan pada baris
Defaults requiretty menjadi #Defaults requiretty
4. Download Zimbra package Open Source Edition untuk Fedora 7 di sini
5. Extract Zimbra
#tar -zxvf zcs-5.0.6_GA_2313.F7.20080522100316.tgz
6. Masuk ke direktory installasi
#cd zcs-5.0.6_GA_2313.F7.20080522100316
7. Lakukan installasi, untuk sementara pilih saja semua package yang bisa di install.
#./install.sh -l
8. Pada saat installasi anda akan ditanya beberapa hal untuk konfigurasi, tetapi untuk versi yang open source anda hanya akan ditanya password admin sistem. Tampilan pada console kurang lebih seperti berikut
Main menu
1) Common Configuration:
+Hostname: mailhost.example.com
+Ldap master host: mailhost.example.com
+Ldap port: 389
+Ldap Admin password: set
+TimeZone: (GMT-08.00) Pacific Time (US & Canada)
2) zimbra-ldap: Enabled
+Create Domain: yes
+Domain to create: mailhost.example.com
+Ldap Root password: set
+Ldap Replication password: set
+Ldap Postfix password: set
+Ldap Amavis password: set
3) zimbra-store: Enabled
+Create Admin User: yes
+Admin user to create: admin@mailhost.example.com
+Admin Password set
+Enable automated spam training: yes
+Spam training user: spam.rstn2dbcr@mailhost.example.com
+Non-spam(Ham) training user: ham.bvjx1nyw@mailhost.example.com
+Global Documents Account: wiki@mailhost.example.com
+SMTP host: mailhost.example.com
+Web server HTTP port: 80
+Web server HTTPS port: 443
+Web server mode: http
+IMAP server port: 143
+IMAP server SSL port: 993
+POP server port: 110
+POP server SSL port: 995
+Use spell check server: yes
+Spell server URL: http://mailhost.example.com:7780/aspell.php
License filename: UNSET
4) zimbra-mta: Enabled
6) zimbra-logger: Enabled
7) zimbra-spell: Enabled
8) Default Class of Service Configuration:
+Enable Instant Messaging Feature: Disabled
+Enable Briefcases Feature: Disabled
+Enable Tasks Feature: Enabled
+Enable Notebook Feature: Enabled
9) Enable default backup schedule: yes
r) Start servers after configuration yes
s) Save config to file
q) Quit
Pada saat keluar menu seperti tersebut diatas langsung saja tekan 3 enter dan tekan 4, lalu masukan password kamu.
9. Biarkan installasi selesai
10. Reboot komputer
11. Login ke sistem dengan menggunakan Firefox ke alamat https://localhost:7071, login sebagai admin@namadomainkamu dengan password seperti yang kamu masukan pada point 8.
Wahhhh semoga bermanfaat lahhh.....


Come and join with us, Indonesia Zimbra community
http://zimbra.web.id/, share your idea and experience here..
Post a Comment